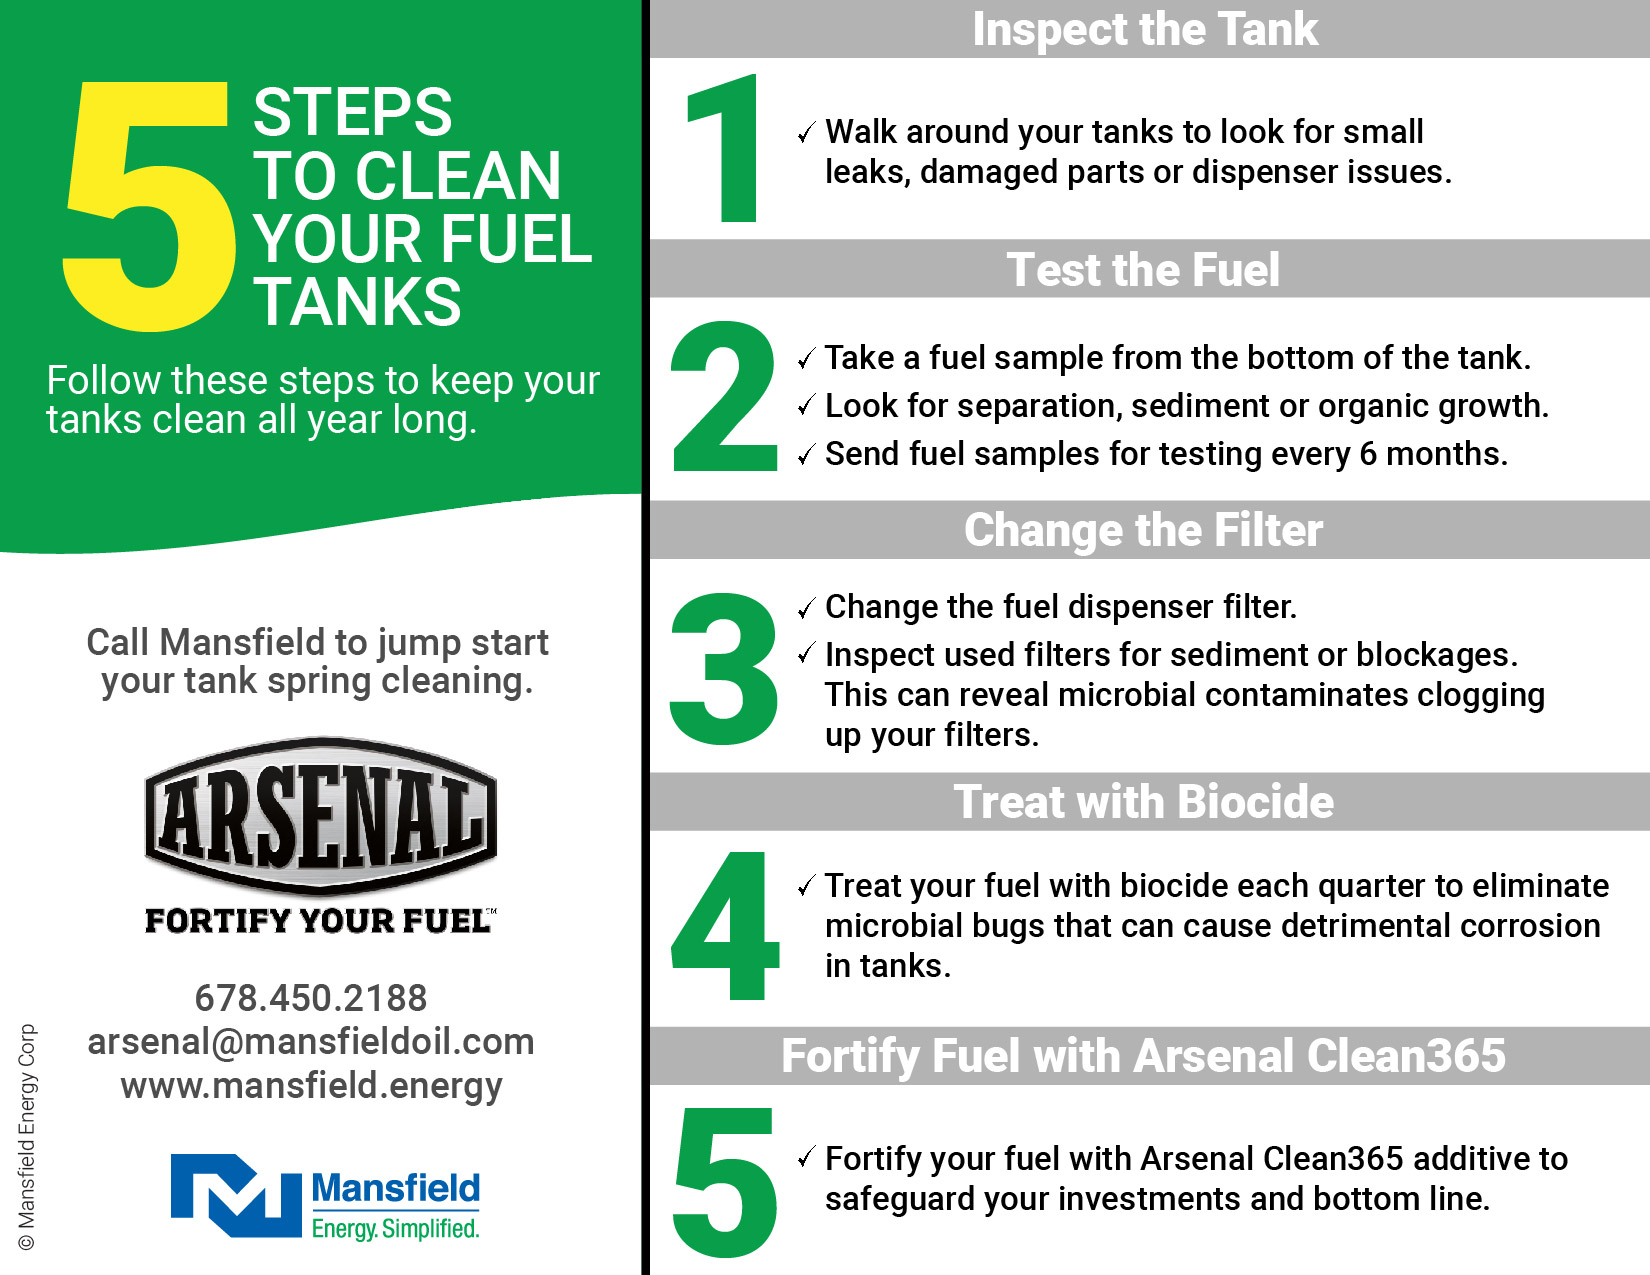
5 Steps to Clean Your Tanks
When I was young, my room was a mess. Around this time every year, my mother would start the dreaded “spring cleaning.” Not only did I have to clean my room, but I also had to help clean the rest of the house! I hated the process, but once it was done, it was so much easier to keep my room clean – which helped prevent serious injury from stepping on the terrifying “middle of the night Lego.”
It’s time to think about your tank’s overall health
Just like my bedroom spring cleaning, your fuel tanks need regular attention. Over time, above and below-ground tanks can accumulate sediment, water and eventually harmful microorganisms. Water is extremely troublesome to fuel tanks, and can actually nurture the growth of microorganisms. These ‘bugs’ live in the layer of water at the bottom of the tank and thrive on the bio content in fuel. 
Springtime temperature swings can cause condensation to rise and fall daily. Warmer summer temperatures create an atmosphere that allows microbial growth to flourish, meaning fuel can go from containing small impurities to heavy contamination in just a few weeks. That’s why spring is an ideal time to take care of business.
What’s in your tank?
Mansfield leverages new camera technologies to see inside our customers’ fuel tanks, and the findings have been astonishing. In the past year, between the camera technology and fuel testing, ninety percent of the fuel tanks we’ve inspected contained water contamination, sludge and microbial bugs. The EPA reports that eighty-three percent of tanks they’ve inspected were beginning to form corrosion in the top of the tank as a result of corrosive vapor condensation.
What type of cleaning do you need?
The severity of contamination in a tank determines the level of cleaning required. A simple bottom sweep can remove debris and water from the tank. A full cleaning can restore a tank to almost new by removing and filtering the fuel and then physically scrubbing the inside of the tank using water jets. A tank cleaning expert can help you determine what works best for you.
Take a good look into your tanks this spring and perform the necessary cleaning. But don’t stop there. Just as important as the initial cleaning, we recommend a regular treatment program with Arsenal Fuel additives and periodic fuel quality testing. We also recommend a quarterly biocide treatment – paired with a regular dose of Arsenal Clean365. It’s powerful dispersant keeps water and microbial bugs at bay, as well as effectively removes injector deposits. When your injectors operate well, you will reap other benefits including improved fuel economy, lower DEF use, fewer DPF regens and improved stability. Now’s the time to get a jump on cleaning up your entire fuel system. With a consistent Fuel Quality program, your vehicles, your bottom line and the environment will benefit.
5 Steps to Clean your Tanks
- Inspect the Tank – The government will conduct a visual inspection of your tank, pumps and containment area on a routine basis. However, performing your own self-inspection every three months is beneficial. Walk around your tank to look for small leaks, damaged parts or dispenser issues. This could save you a major headache down the road.
- Test the Fuel – After completing the visual inspection, take a fuel sample from the bottom of the tank. Examine the appearance of the fuel – look for separation, sediment or organic growth. If any impurity is present in the sample, an additive expert should prescribe the necessary treatment for the tank. Many harmful microorganisms cannot be seen by the human eye. Fuel samples should be tested in a lab every six months to verify quality and cleanliness.
- Change the Filter – The dispenser filter should be changed every 3-6 months depending on the rate of fuel consumption. After changing the filter, inspect the used filter for any unusual sediment and blockages. Visual inspection can reveal microbial contaminates clogging up your filters – indicating dirty fuel. Regularly changing the dispenser filter will also improve the fuel flow rate, increasing fueling speed.
- Treat with Biocide – Treat your fuel with biocide each quarter to prevent detrimental corrosion from forming in tanks. Microbial bugs can be extremely harmful to fuel, tanks and fleets. The bugs feed on fuel and release gases that cause tank corrosion. Proactively fight against microbial bugs to protect your fueling and fleet equipment from corrosion and tank decay.
- Fortify Fuel with Arsenal Clean365 Fuel Additive – Clean365 is a high quality detergency additive. U.S. fuel quality, even when meeting today’s regulatory compliance standards, has not kept pace with emerging heavy duty engine technology. Dirty tanks and poor fuel quality can lead to a number of costly maintenance problems, including injector failure, filter plugging and reduced fuel economy. Treat each fuel delivery with Arsenal Clean365 to safeguard your investments and your bottom line.
Jump start your spring cleaning. Contact a Mansfield expert today at aresenal@mansfieldoil.com or (678)450-2188.
This article is part of Daily Market News & Insights
MARKET CONDITION REPORT - DISCLAIMER
The information contained herein is derived from sources believed to be reliable; however, this information is not guaranteed as to its accuracy or completeness. Furthermore, no responsibility is assumed for use of this material and no express or implied warranties or guarantees are made. This material and any view or comment expressed herein are provided for informational purposes only and should not be construed in any way as an inducement or recommendation to buy or sell products, commodity futures or options contracts.


